Introduction to Hardscaping with Paver Sand
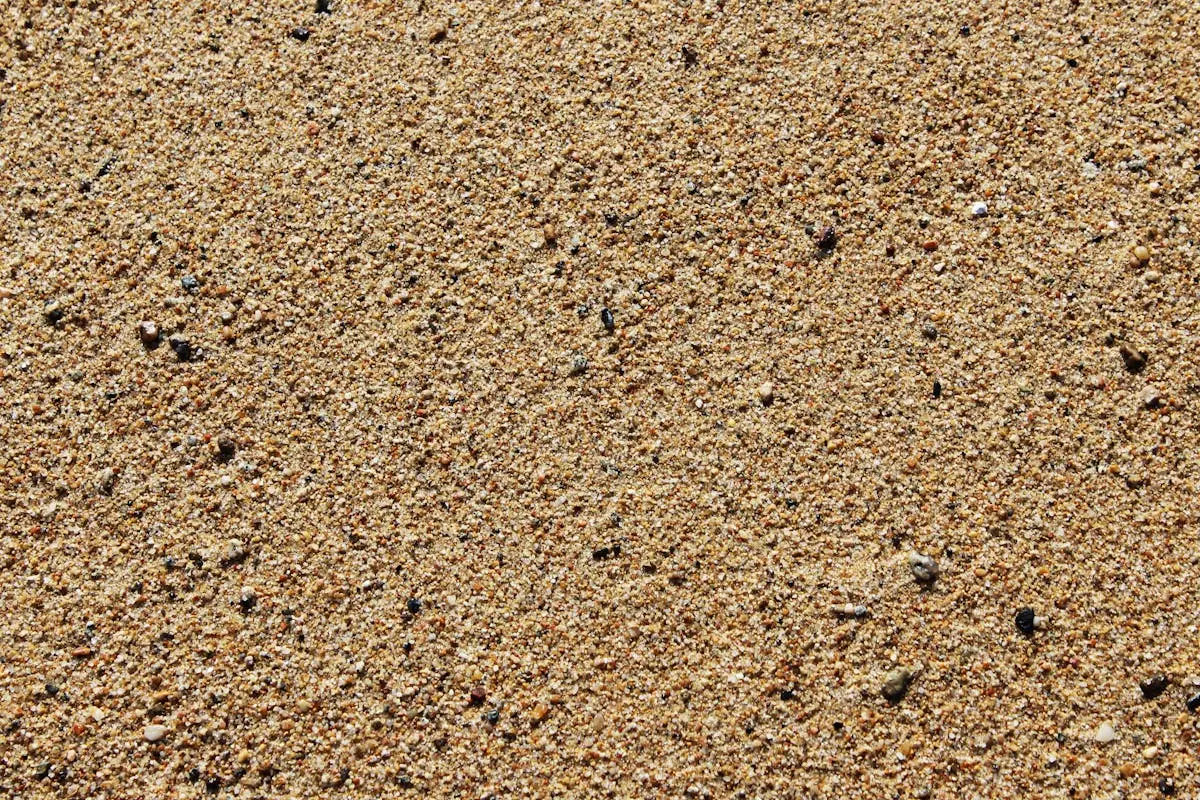
Hardscaping with Paver Sand starts a project on solid ground. It’s key in securing your pavers in place and ensuring your outdoor space stays looking sharp. Think of paver sand like the glue of your hardscape. It goes between the cracks, locks everything tight, and prevents weeds and ants from ruining your hard work. But not all sand is the same. There’s concrete sand, polymeric sand, and others, each suited for different conditions and preferences. It’s not just about pouring sand over and hoping for the best. You’ve got to know your stuff, like how much to use, which type is right for your project, and how to apply it properly to avoid common mistakes. So, let’s dive in and get those pavers laid right.
Mistake #1: Skipping Proper Ground Preparation
Jumping straight into spreading paver sand without prepping the ground is like trying to paint a masterpiece on a greasy canvas – it’s not going to work. The first step in any hardscape project should always be to clear the area of weeds, debris, and any other unwanted materials. This is crucial because uneven or unclean bases can lead to shifting and sinking pavers over time. It’s not just about making the surface look pretty; it’s about creating a solid foundation that prevents water pooling and ensures your pavers stay put for years. Don’t cut corners on this part. A little extra time spent here can save you a lot of hassle down the road.
Mistake #2: Choosing the Wrong Type of Paver Sand
Choosing the wrong type of paver sand is a rookie mistake that can derail your hardscape project fast. Not all sand is created equal. For pavers, you’ve got two main types: polymeric sand and regular paver sand. Pick the wrong one, and you may as well throw your money and hard work out the window. Polymeric sand is the go-to for most projects. It locks pavers tight and resists weeds and ants. Regular sand, cheaper sure, but it doesn’t hold pavers together as well, and you’ll be redoing things before you know it. Bottom line: Skimp on the right sand, and you’re asking for trouble. Choose wisely, do it once, do it right.
Mistake #3: Incorrect Sand Application Technique
When applying paver sand, getting the technique right is critical. A common blunder is either using too much force or being too gentle. Dumping sand onto the pavers and brooming it across in a haphazard manner won’t do. You need a balanced approach. Start by evenly spreading the sand over the surface. Then, using a broom, gently sweep the sand into the gaps between the pavers. This isn’t a one-and-done deal. You’ll probably need to go over it several times to ensure the sand settles properly in the joints. Make sure you’re not just pushing the sand around on the surface. After sweeping, a plate compactor can help settle the sand deeper into the joints, but remember, over-compacting can cause pavers to sink or become uneven. The goal is solid, even paving without the excess or deficit of sand. Get it just right, and you’re golden.
Mistake #4: Not Compacting Sand Adequately
Not compacting sand enough is a common slip-up folks make during hardscape projects. See, when sand isn’t compacted well, it lays the groundwork for pavers to move, sink, or become uneven over time. You want a solid, unmovable base, right? To dodge this, after spreading the sand, use a compactor machine to press it down evenly and firmly. It takes a bit of extra elbow grease but ensures your pavers stay put, looking neat and professional for years. Cutting corners here might save you time today, but it’ll cost you more in fixing uneven pavers down the road. So, always remember: compact heavily, compact right.
Mistake #5: Ignoring Weather Conditions During Application
Ignoring weather conditions when laying down paver sand is a rookie mistake. Think simple: not too wet, not too dry. If it’s raining, the sand won’t settle properly. Wet conditions can lead to uneven surfaces once everything dries. On the flip side, applying sand during a hot, sunny day might cause it to dry out too quickly. That means it won’t compact as well as it should, leaving you with a shaky foundation. The sweet spot? Aim for a dry, cloudy day. This gives the sand just the right environment to settle and bind the pavers together, creating a sturdy and lasting hardscape.
Mistake #6: Overlooking the Need for Weed Barrier Installation
Skipping the weed barrier is like inviting trouble over for a backyard barbecue. It seems okay at first, but then things get out of control. Weed barriers stop those pesky plants from crashing your paver party. Without it, you’ll soon find weeds sprouting between your meticulously laid pavers, turning your sleek patio or pathway into a wild garden. It’s not just about looks; these uninvited guests can push your pavers apart, causing uneven surfaces and making your path less safe to walk on. So, when you’re laying down that sand and setting your pavers, remember, a weed barrier is your best friend. It’s the silent guardian that keeps the underground party-crashers at bay, saving you from hours of pulling weeds and fixing gaps down the line.
Mistake #7: Inadequate Joint Sand Leveling and Filling
Skipping joint sand leveling and filling, or doing it poorly, can mess up your paving job in no time. Here’s the deal: paver sand is crucial because it keeps your stones firmly in place. If you’re stingy or sloppy with it, your pavers are going to shift, making your surface uneven. No one wants a patio that looks like a skate park, right? First off, you’ve got to generously fill those joints with sand. But hey, don’t just sprinkle it on like you’re seasoning a steak. You need to really work it into the gaps until they’re completely filled. Missed a spot? Expect weeds or moss to invite themselves over. And it’s not just about plopping sand in the gaps; you’ve got to level it to avoid low spots where water can pool. Nobody’s looking for a mini pond. So, be thorough, be patient, and make sure every joint is packed and level. That’s your secret sauce for a top-notch hardscape.
Tips for a Successful Paver Sand Application
Start with a clear base. The ground should be flat and compact; this can’t be stressed enough. If it’s not, your sand won’t lay right, leading to unevenness. Moisture is your friend here; lightly dampening the area can make compaction easier. But, remember, there’s a fine line between damp and wet.
Select the right sand. Not all sand is equal for paver projects. You want concrete sand, which is coarser and locks well between the pavers. Fine sand might seem easier to work with, but it won’t provide the stability your project needs.
Thickness matters. When applying the sand, aim for a depth of about 1 to 1.5 inches. More isn’t better. Too much sand leads to shifting and sinking, too little, and your pavers won’t stay put.
Tamping is key. Once your sand is down, tamp it. This doesn’t mean a gentle pat; you need to use some muscle or a mechanical tamper. It’s about creating a solid, even base that won’t give way underfoot.
Finally, take your time. Rushing through the job increases the chance of mistakes. Careful planning and patience at each step can make a huge difference in the longevity and appearance of your hardscape project.
Conclusion: Avoiding Common Pitfalls for a Perfect Hardscape
To wrap things up, sidestepping common mistakes can make or break your hardscape project. Keep it simple – don’t skimp on prep work, choose the right sand, and apply it with care. These steps might seem basic, but they’re crucial. Cutting corners with preparation or going cheap on materials only leads to frustration and redoing the work. Remember, investing time and money upfront saves you both in the long run. Don’t let impatience or inexperience rush you. Take your time, do your research, and maybe even consult with a pro before diving in. Your hardscape will thank you with years of beauty and durability. Steer clear of these pitfalls, and you’re on your way to a flawless outdoor space.


